此设置适用于本地服务器、云服务器或者机房托管的服务器!另外一定要注意,不要被360等系统阻止或者删除,提示时会有EMMIS系统字样,安全未识别,选择允许程序运行即可。
第一种办法-简单,重新安装即可,推荐使用!
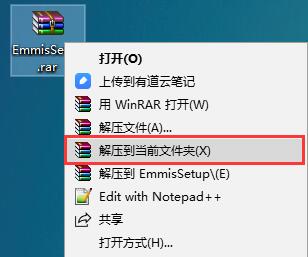
1、下载钮门系统客户端,系统点此下载:EmmisSetup.rar鼠标右键点击压缩文件,解压,得到系统安装程序
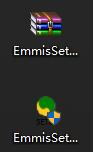
2、鼠标右键点击安装程序,选择“以管理员身份运行”,没有此项可直接双击鼠标左键安装。

3、把服务器IP改成你们公司服务器的IP地址,远程域名删除,点击"开始安装",此步是关键,一定要把信息填写正确!

4、到此系统安装完成,可以直接使用了,如果还提示错误,请按照下面的教程检查系统账户控制权限是否设置。
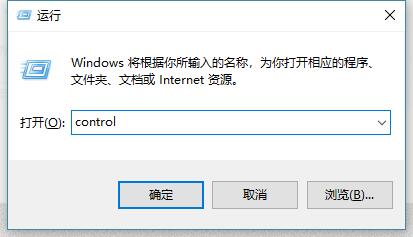
5、按下"win+R",或者在开始菜单里面打开运行,在运行输入框里面输入“control”,如下图所示:
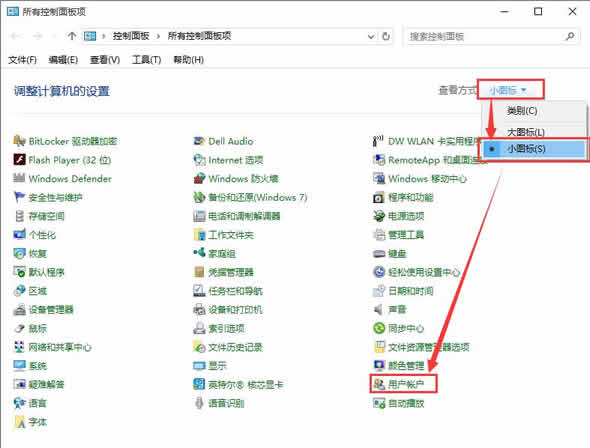
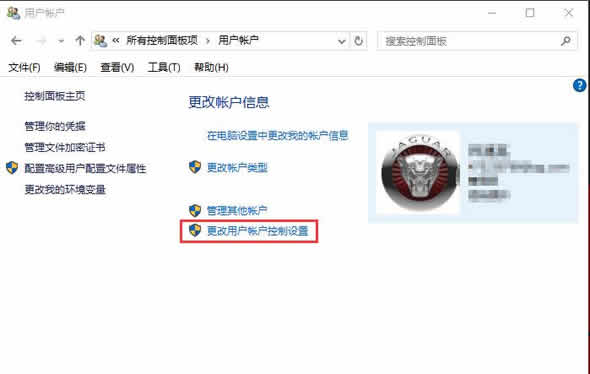
6、查看方式改成“小图标”,选择“用户账户”
7、选择“更改用户账户控制设置”
8、把权限设置成“从不通知”,确定
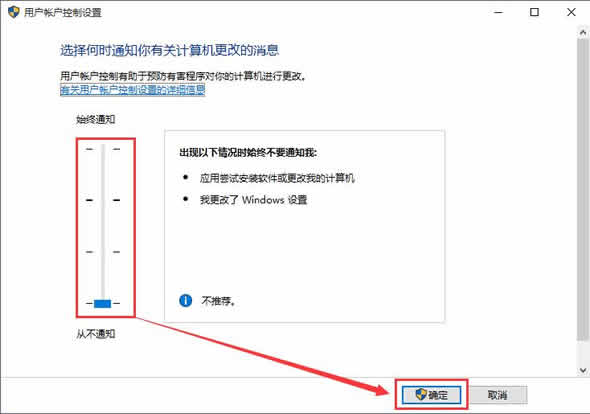
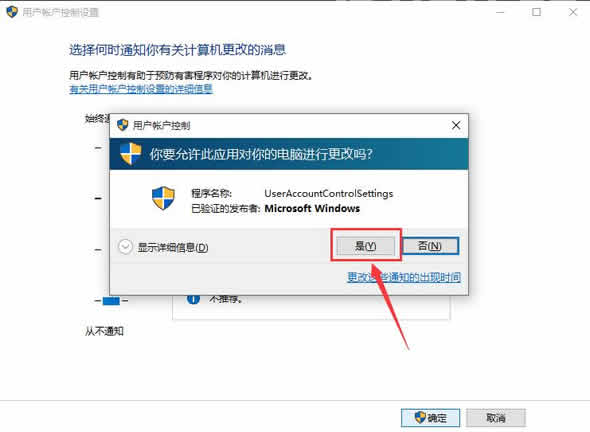
9、点击确定
第二种解决办法-已经安装过客户端的,不想再重新安装的话,可以按照下面的操作设置.
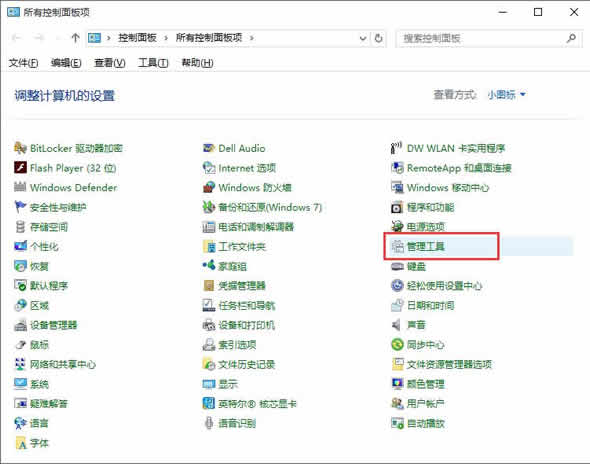
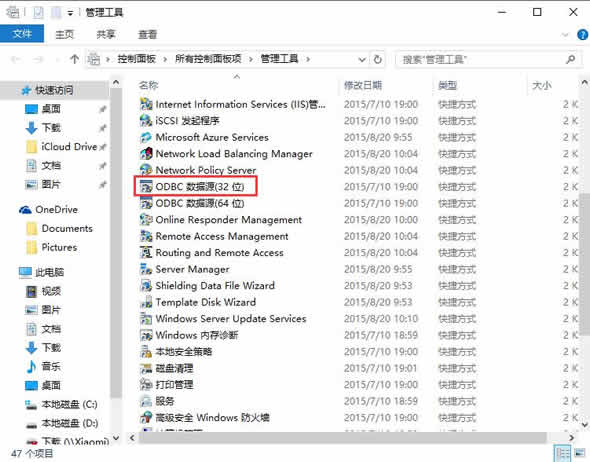
1、在控制面板界面选择“管理工具”
2、选择“ODBC数据源(32位)”,32位操作系统直接选择“ODBC数据源”
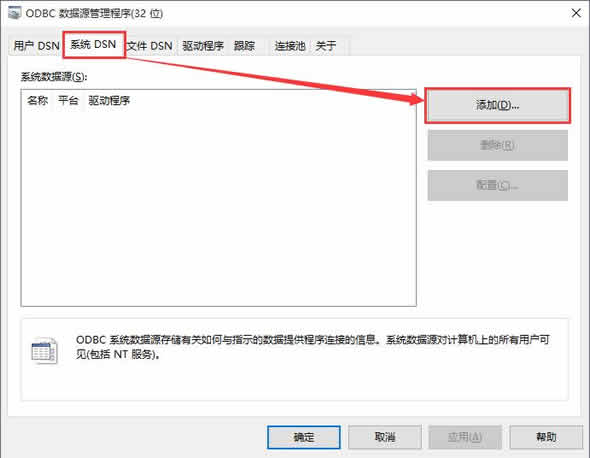
3、选择“系统DSN”,然后点击“添加”(如果此处有"emmis"数据源的话就不用添加了,直接选择"emmis",然后点击"配置")
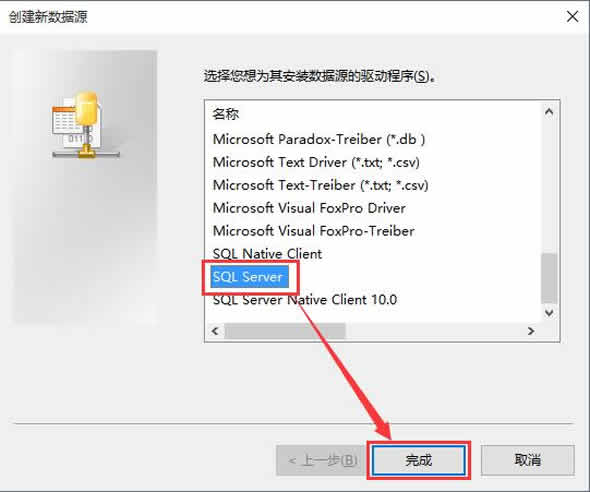
4、选择“SQL Server”,然后点击“完成”
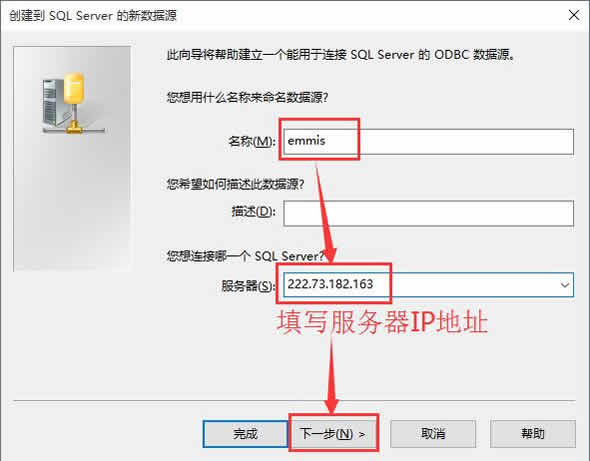
5、名称填写“emmis”,服务器填写你们服务器IP地址,例如:000.123.456.789
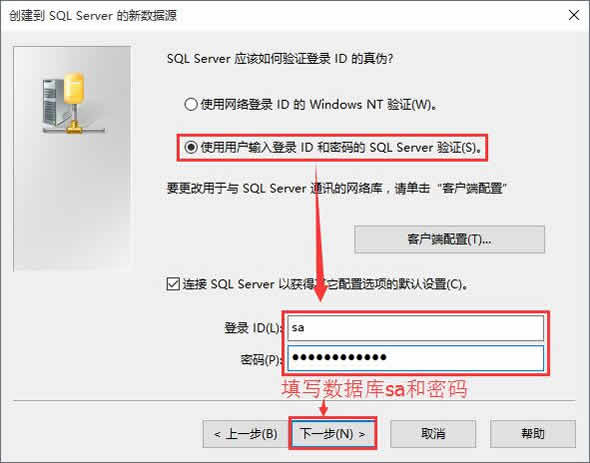
6、选择“使用用户输入登陆ID和密码的SQL Server验证”
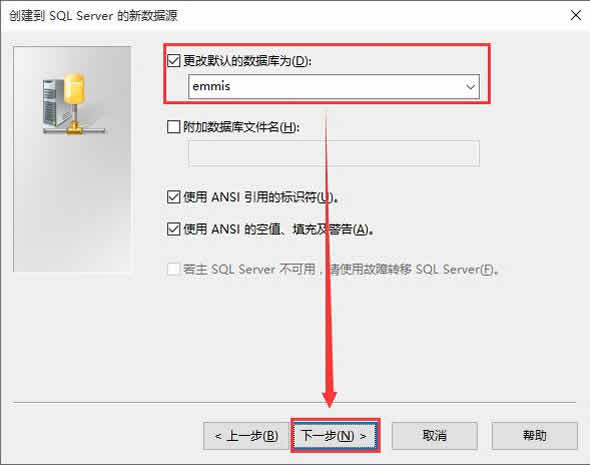
7、打勾“更改默认数据库为(D):”,选择数据库“emmis”,然后点击“下一步”
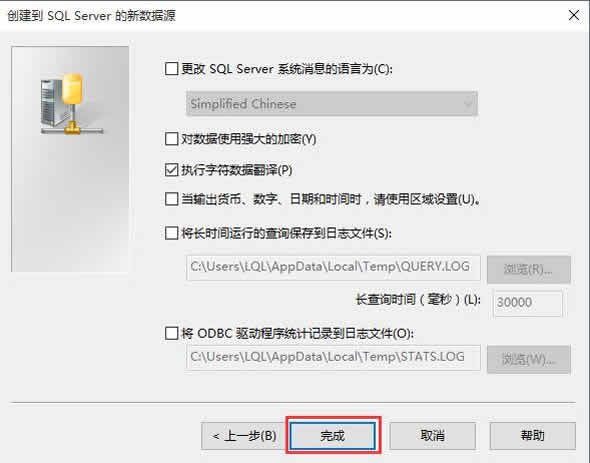
8、点击“完成”
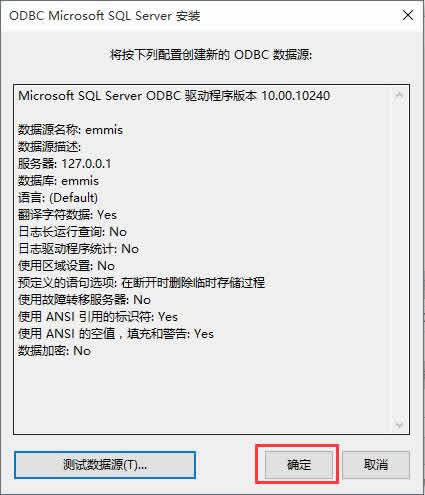
9、点击“确定”
备注:
Windows 8/10 系统下修改“用户账户控制(UAC)”的设置仅针对单个用户设置生效,多个用户需要单独进行设置才可以生效。
